
Your Cart is Empty
FREE SHIPPING FOR U.S. ORDERS OVER $100
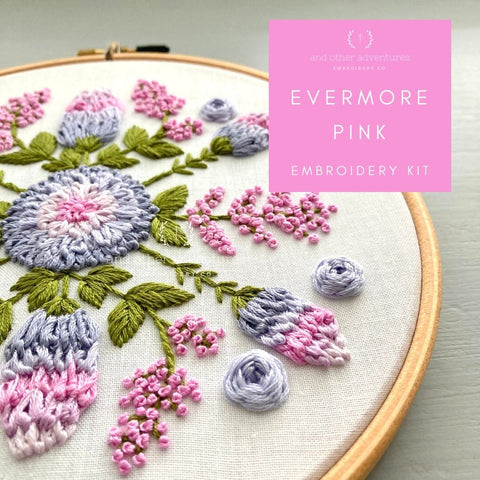
I do believe that the Layered Daisy Stitch is my one, if not my favorite of all the stitch techniques. It is in a head-to-head running with the trusty French Knot, in my opinion. I love its versatility and its ability to create drama and texture, like it has in this Pink Evermore embroidery design.
1. Starting on the outside ring, create side-by-side daisy stitches. Note where the top and the bottom of the stitches are in the photo above. Slowly work your way around the perimeter of the ring until you have a completed circle of daisy stitches.
2. After you have created your first ring of stitches, you are ready to start your second ring (this is where the video begins). You are basically going to move in towards the center by 1 ring. Note where the top and bottom of the second ring's daisy stitches are. You want that second ring's stitches to slightly overlap the 1st ring's stitches. Just like a real flower the petals (stitches) overlap each other to create a layered look.
3. Slowly repeat this for each ring until you get to the center point of the flower. You can add a few extra stitches at that centerpoint in order to give your flower a fluffier look.
HINTS:
Comments will be approved before showing up.